
How to make a lighting at home starts with understanding that most people are really trying to do one of three things: make a light fixture, make a decorative light, or create a lighting plan that makes a room feel brighter, warmer, and more useful. Current ranking pages lean heavily toward DIY light fixtures, pendant lamps, sconces, statement chandeliers, and creative DIY lighting ideas, while leaving more room for practical guidance on layered lighting, bulb choice, and room planning.
If you want your project to look good and work well, do not think only about the object. Think about the room, the mood, the brightness, the light bulb, the socket, the wiring, and whether you need ambient lighting, task lighting, or accent lighting. That is the difference between a pretty project and lighting that actually improves your home.
What “make a lighting” really means
When people search for this phrase, they usually mean one of these:
- Make your own light fixture such as a DIY pendant light, wall sconces, or a chandelier.
- Make a decorative piece such as jar candle lights, lighted Christmas stars, or a paper lampshade.
- Build a full lighting plan for a room using layered light, the right bulb brightness, and better fixture placement.
That distinction matters. Many DIY tutorials jump straight into a project, but your result will be better if you first decide what job the light needs to do. A dining room pendant lighting setup is different from a guest room sconce, and both are different from a garden light or an LED light box. Erin Zubot’s article, for example, centers on four custom fixtures for different rooms, while Homedit’s roundup spans everything from a hemp string pendant lamp to a boho tassel chandelier and DIY hanging jar candle lights.
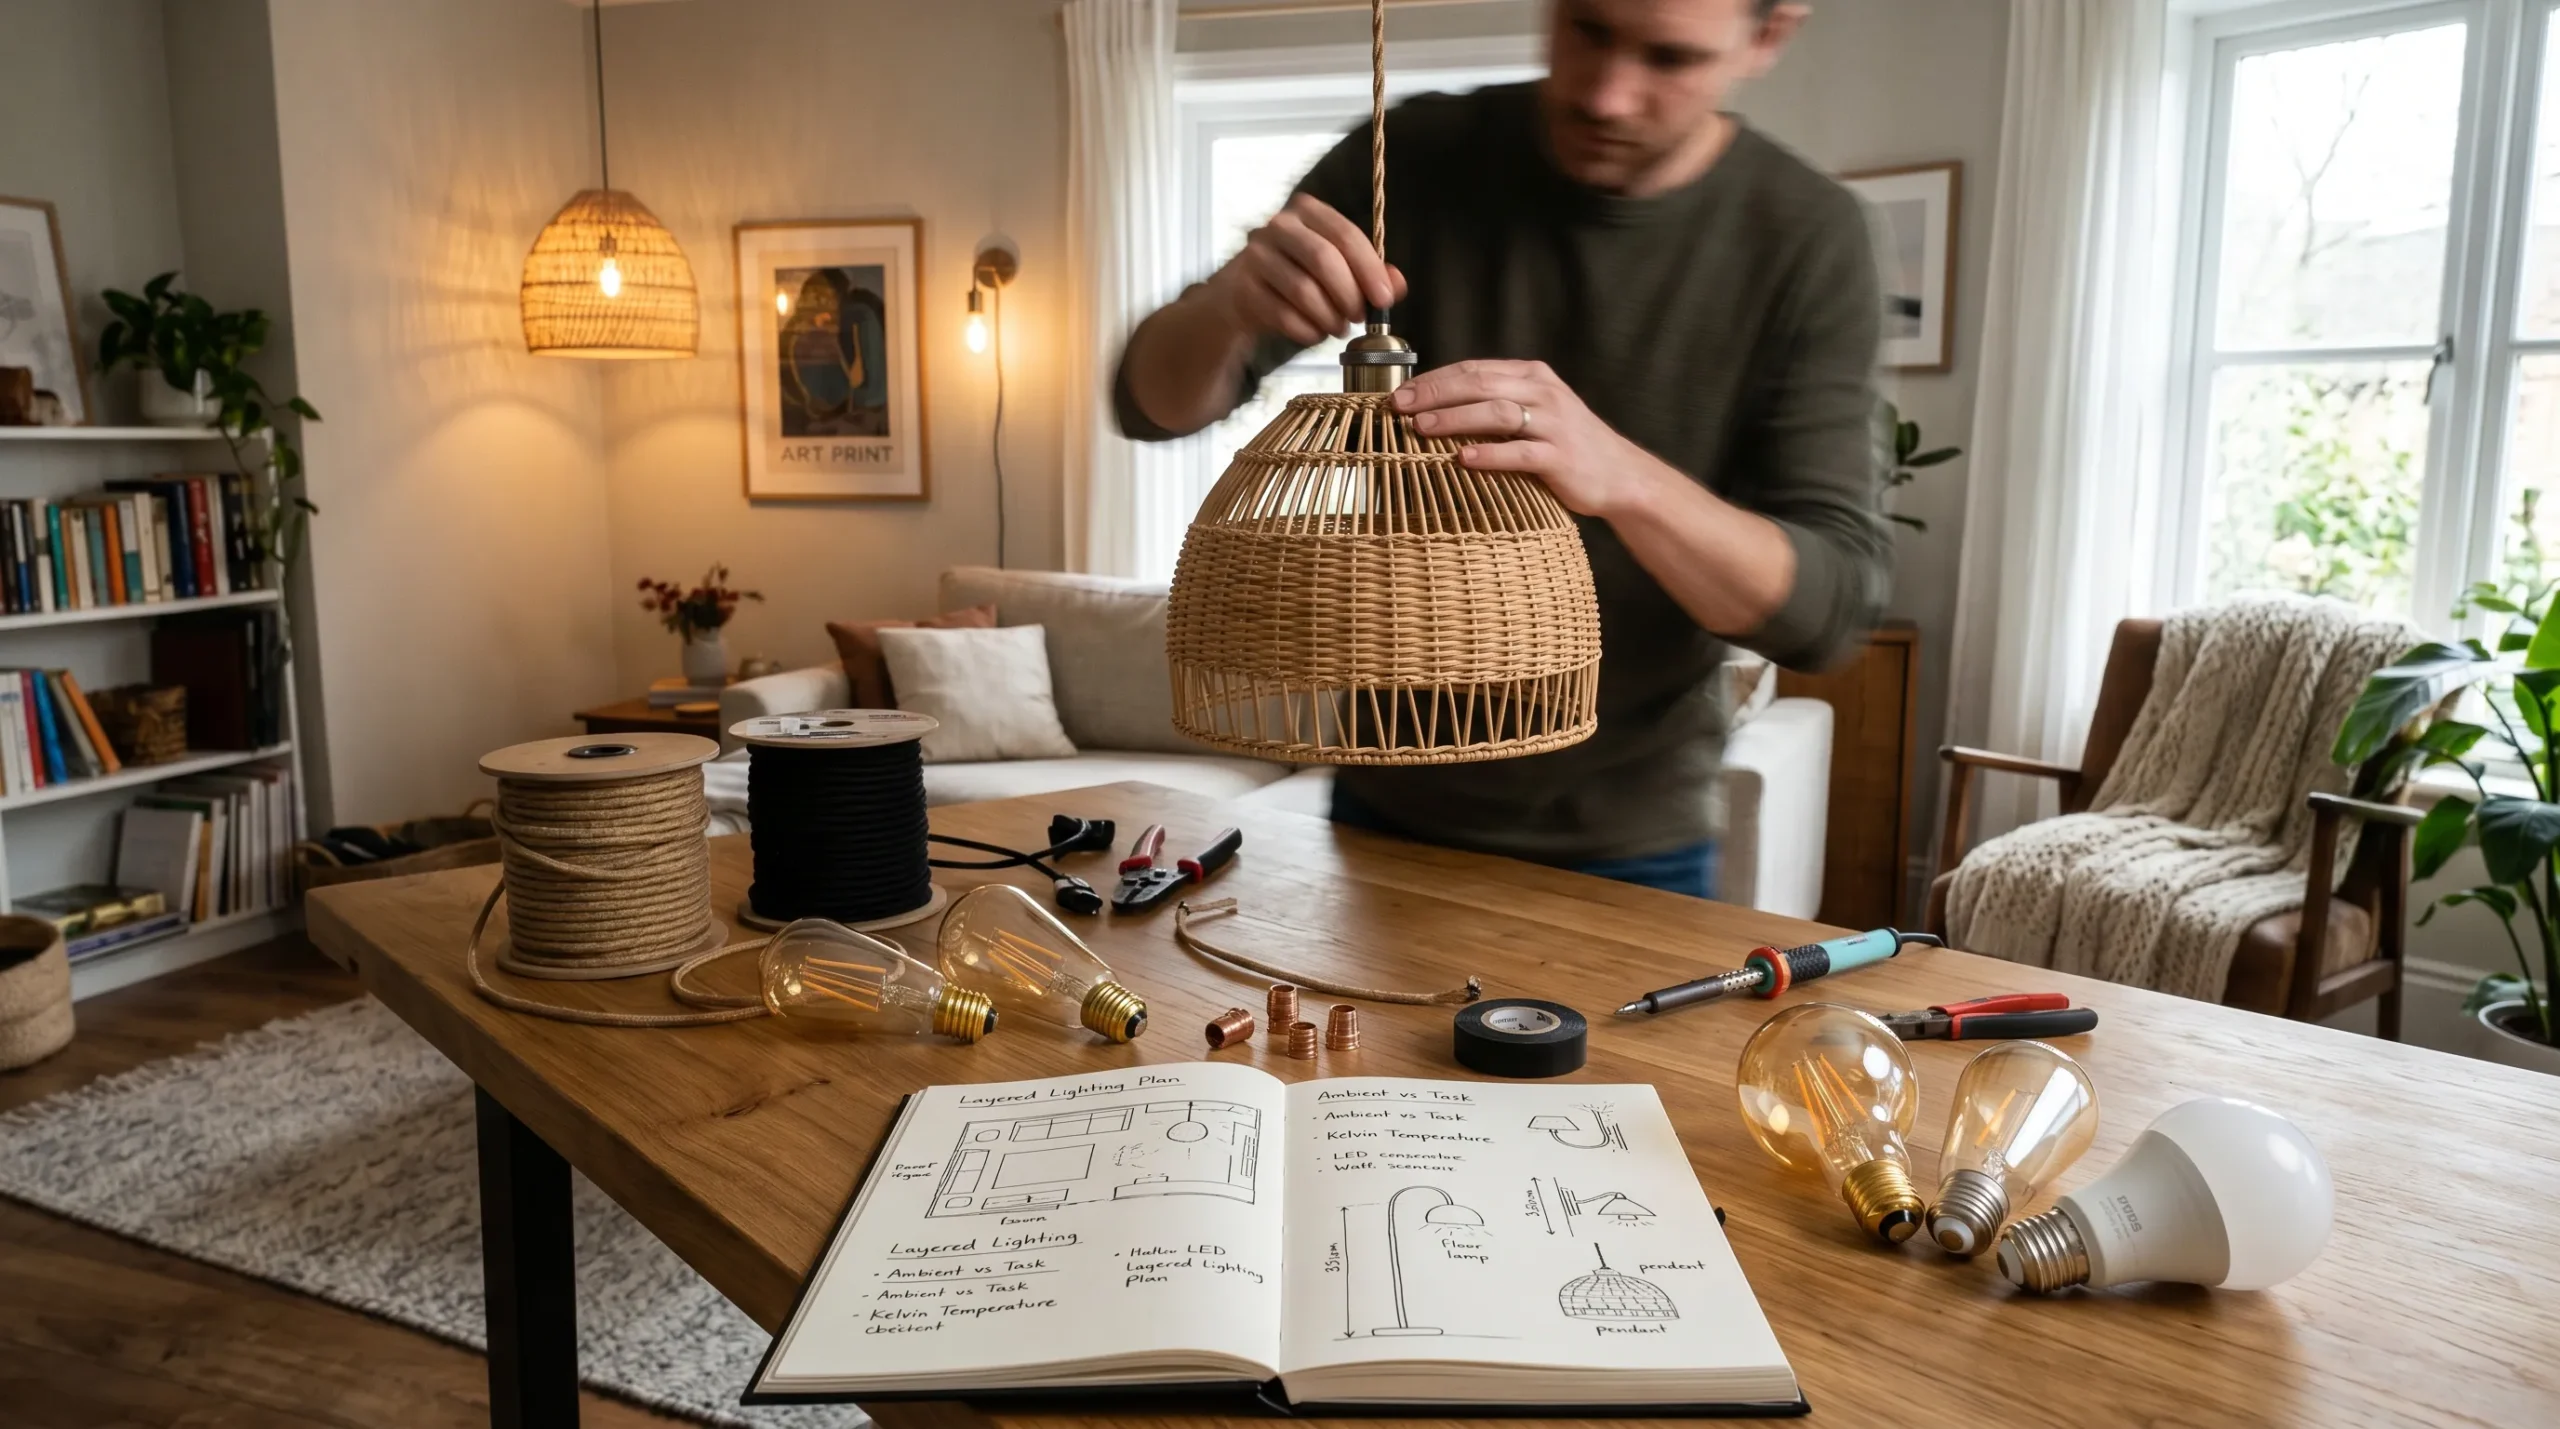
Before you start: tools, materials, safety, and budget
The easiest way to succeed with DIY lighting is to choose a project that matches your skill level. A simple pendant lamp kit or black plug-in hanging light cord is beginner-friendly. A project that requires cutting, drilling, or hardwiring takes more care.
Common materials and hardware include chain, canopy, socket, mounting bracket, mounting plate, electrical wires, cord covers, wall anchors, shade, pleated lampshade, ceramic shades, acrylic, glass, and sometimes upcycled items from a thrift store, ReStore, Ikea, Amazon, Etsy, or Home Depot. Competitor pages repeatedly use these parts because they let you customize without starting from zero.
Safety matters just as much as style. A heavy cluster light with ceramic bowls needs strong support. A plug-in sconce needs secure routing so the wire does not hang loosely or become a trip hazard. A handmade shade must allow enough air around the bulb, especially if you are not using cool-running LED lights. If you are unsure about load, wiring, or mounting, use a plug-in kit or ask a licensed electrician to handle the electrical connection.
Budget is one of the best reasons to make your own light. Erin Zubot explains that replacing every fixture in a house adds up fast, which is why mixing budget lighting, vintage lighting, custom pieces, and a few higher-end lights can be such a smart approach.
Step 1: Decide what type of light the room needs
Before choosing a design, decide whether the room needs ambient lighting, task lighting, or accent lighting.
Ambient lighting is the base layer. It is what lets you walk through the room comfortably. Ceiling fixtures, flush mounts, or a simple pendant often handle this role.
Task lighting helps you do something specific. In a kitchen, that might be brighter lighting over a counter. In a guest room, it could be a bedside sconce. In a work area, it may be a focused lamp or an LED light box if you are building for creative or maker use.
Accent lighting is the mood layer. It highlights a wall, creates a glow, or turns a plain corner into a styled focal point. This is where lighted Christmas stars, jar candle lights, or a cedar shim starburst light shine.
A smart room-by-room lighting plan uses all three layers. That is one of the biggest gaps in competitor content and one of the easiest ways to make your article more useful.
Step 2: Choose the best DIY lighting style for your space
Once you know the job of the light, choose the style. This is where DIY lighting ideas become practical.
For a clean, adaptable look, go with a DIY pendant light. Pendant designs work well in a dining nook, over a breakfast bar, or in a kitchen. Erin Zubot’s dining nook project is a great example of using an existing fixture’s chain, canopy, and socket with a thrifted shade to create something simple and elegant.
If you want something dramatic, choose a cluster light, bubble light, or statement chandelier. These create strong visual impact and work well in a bedroom or larger living space. Homedit also leans into this visual style with ideas such as a DIY battery operated drum shade chandelier, TreeBranchChandelier, and bamboo orb projects.
If you want lighting that feels easy and achievable, DIY sconces are often the best option. They bring light lower into the room, feel custom, and can be made without major hardwiring if you use a plug-in cord setup.
If you want to soften a room, focus on shades. A paper lampshade, ribbon lampshade, book lampshade, or woven rope pendant lamp can completely change the mood of a space with less effort than building a fixture from scratch.
Easy DIY method 1: Upgrade an existing pendant or shade
One of the smartest ways to start is not to build from nothing, but to improve what you already have. This works especially well if you are searching how to make a DIY light fixture pendant light or how to make light fixtures using thrifted parts.
Start with an old pendant. Remove the dated shade. Keep the useful parts, especially the chain, canopy, and socket. Refresh the metal if needed, then thread on a new shade or thrifted lampshade. Erin Zubot did exactly this with a dining nook fixture, turning an existing light into a much better-looking pendant with very little cost.
This method works because it gives you flexibility. You can change the finish, swap the shade later, and keep the project beginner-friendly. It is one of the best answers to make your own light fixture without overcomplicating the build.
Easy DIY method 2: Build a cluster light or statement chandelier
If you want a bigger wow factor, a bedroom cluster DIY light fixture is a strong choice. The main idea is simple: start with a multi-arm fixture, often called a spider light, then customize the shades.
Erin Zubot’s bedroom build used a spider light with 6 cords, 6 lights, and 6 arms, fitted with custom ceramic shades. She notes that the fixture included one for each light bulb, and that weight was the biggest concern. That is an important lesson. A statement fixture looks great, but the mounting plate, mounting bracket, and ceiling support must be able to handle the load.
You do not need a potter sister to recreate the idea. You can use ceramic bowls, plant pots, lightweight shades, or even paper-based alternatives. The trick is balancing beauty, weight, and safety. If you want a softer look, go lighter. If you want a more sculptural look, ceramic can be stunning.
Easy DIY method 3: Make plug-in wall sconces without complex hardwiring
DIY wall sconces with plug-in hanging light cord are one of the most practical projects for renters, beginners, and anyone who wants custom bedside lighting.
The process is straightforward. Mount a wall bracket or hook securely. Use a black plug-in hanging light cord or a cloth cord. Add a shade, route the wire neatly, and hide it with cord covers if needed. Erin Zubot’s guest room sconces used plant hanging brackets, long cords, and heavy-duty wall anchors to support the look while keeping the switch accessible near the bed.
This style works because it feels bespoke without requiring you to open a wall. It is also a strong solution for a guest room, bedroom, or reading corner where you want light exactly where you need it.
Easy DIY method 4: Make a lampshade from paper, rope, fabric, or recycled materials
If your goal is to soften the room and create atmosphere, start with a shade. This is where creative DIY lighting ideas really open up.
Homedit’s roundup includes a hemp string pendant lamp, book lampshade, paper lampshade, folded paper lamp, ribbon lampshade, coffee filter projects, and a bamboo orb. One standout example is the hemp-string pendant made with bouncy balls, clear drying craft glue, and hemp string. The article even gives material scale examples: a 16’’ diameter ball may need 400 yards, a 14’’ diameter ball may need 300 yards, and a 9’’ diameter ball may need 100 yards.
That kind of project works because it transforms cheap materials into something sculptural. A simple basket DIY lampshade or a turning an old basket into a hanging lamp idea also works beautifully because the texture does most of the design work for you. These projects are especially good when you want the light itself to feel warm, soft, and decorative rather than sharp and bright.
Easy DIY method 5: Make decorative accent lighting for mood and character
Sometimes the best answer to how to make a lighting is not a main fixture at all. It is a decorative accent that changes how a room feels.
A cedar shim starburst light is a good example. Erin Zubot describes making one for her daughter’s room using cedar shims, plywood, adhesive, and a cheap LED light in the center. The result was more rustic, more personal, and more emotionally meaningful than a standard ceiling light.
Homedit adds many accent-style ideas too, including DIY Lighted Christmas Stars, DIY Hanging Jar Candle Lights, garden-light, and playful statement pieces that are more about mood lighting than general illumination.
This is where you can be most creative. If the goal is a cozy lighting scheme, decorative lights can do more for the room’s personality than one big fixture ever could.
Optional maker project: how to make an LED light box
If your interest is more technical, an LED light box is a different but useful branch of DIY lighting. The Instructables page frames it as Make an LED Light Box: 6 Steps, placing it in a maker-style workflow rather than a home décor one.
The basic idea is to build a box, add a lit panel, and work through assembly details such as box sides, top frame, acrylic, glass, dry fit, finishing, and the final light source. This kind of project is great for display, tracing, craft use, or a creative workspace. It is not the best core angle for a home-lighting article, but it is a useful supporting section because it expands the search intent.
How to plan lighting like a designer
This is the step most competitors underuse. A good lighting plan makes every DIY project more effective.
Start with the room’s purpose. In a kitchen, you need stronger task lighting. In a bedroom, you usually want softer ambient lighting plus a focused bedside source. In a dining room, a pendant can act as both practical and decorative light. In a living room, layered light almost always beats one harsh overhead fixture.
Next, think about placement. A beautiful fixture can still fail if it hangs too high, too low, or in the wrong spot. Consider ceiling height, furniture layout, and where people actually sit, cook, read, or relax. A smart article should explain fixture placement, switch placement, and even how to sketch a simple floor plan before buying materials.
How bright should DIY lighting be?
A fixture can look amazing and still light the room badly. That is why lumens, color temperature, and bulb selection matter.
If you want soft, cozy light, choose a warm white lighting feel. If you want clearer visibility for work, use a cooler, brighter bulb carefully and only where it helps. Make sure your bulb works with your fixture, your shade, and any dimmer switch you plan to use.
This is also where LED lights usually win. They run cooler, last longer, and are often better for handmade shades than hotter bulbs. For many DIY projects, the right bulb matters as much as the build itself.
Room-by-room DIY lighting ideas
In a bedroom, a cluster light, soft pendant, or plug-in sconce works well because the goal is comfort first.
In a guest room, sconces are a smart upgrade because they free up nightstand space and feel thoughtful.
In a kitchen or over a breakfast bar, simple pendants are often best because they combine task lighting with style.
In a dining room, a statement pendant or chandelier creates a focal point and defines the table area.
In a basement or plain room that feels cold, a decorative project like a starburst light, fabric shade, or layered lamp setup can add warmth quickly.
The best room-by-room lighting plan is never one-size-fits-all. Match the fixture to the job.
Common DIY lighting mistakes to avoid
The first mistake is choosing style before function. The second is ignoring weight. The third is using the wrong bulb for the shade. The fourth is poor cable management. The fifth is forgetting that mounting hardware matters as much as the visible fixture.
If you are making a heavy piece, overbuild the support. If you are making a delicate shade, use a cool bulb. If you are using a plug-in solution, make the wire look intentional. If you want lighting that feels expensive, neat installation is half the result.
Cost breakdown: DIY lighting vs store-bought fixtures
One reason DIY light fixtures keep ranking so well is simple: they save money. Erin Zubot openly frames cost as a major reason she made so many lights for her house, especially when replacing many fixtures at once.
Here is a practical comparison:
| Option | Cost | Difficulty | Best for |
|---|---|---|---|
| Shade upgrade | Low | Easy | Fast room refresh |
| Plug-in sconce | Low to medium | Easy | Bedrooms, guest rooms |
| Pendant kit + custom shade | Medium | Moderate | Dining areas, kitchens |
| Cluster light / chandelier | Medium to high | Moderate to advanced | Statement spaces |
| LED light box | Medium | Moderate | Maker or craft use |
DIY wins when you want a custom look, need to control budget, or cannot find the exact design you want in stores.
Final thoughts
The best answer to how to make a lighting is not just to copy one tutorial. It is to decide what kind of light you need, choose the right project, use safe materials, and build with the room in mind. Whether you make a DIY pendant light, DIY sconces, a cluster light, a paper lampshade, a cedar shim starburst light, or even an LED light box, the strongest result comes from combining creativity with a smart lighting plan.
Disclaimer:
This article is for general informational and DIY inspiration purposes only. Any lighting project involving electricity, wiring, mounting, bulbs, sockets, or fixtures should be done carefully and safely. Individual results may vary depending on your room, materials, tools, skill level, and local electrical rules. For any hardwiring or safety concerns, consult a qualified electrician before starting.